9 Tips for Better Vacation Photos with Your Smartphone


Milan or Madrid—but the vacation photos always look the same? We have a few camera tricks for you on how to take better pictures when traveling. We focus on smartphones and have therefore taken all the photos in this article with a cell phone. But of course, most of the advice also applies to full-blown cameras.
General photography tips
Tip 1: Rule of thirds and golden ratio
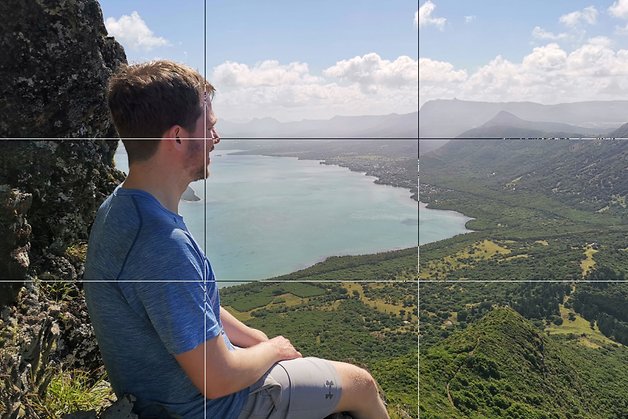
Do you have a beautiful subject in front of you, but don't know how to position the camera? Then the rule of thirds or the golden ratio can often help. With the former, the image is divided into thirds horizontally and vertically. You then simply align the most important parts of the subject along the lines, ideally even at the intersections.
The golden ratio works in a very similar way, but here the lines are all shifted slightly more towards the center of the image. While photos taken according to the rule of thirds look a little more exciting, the golden ratio creates a more harmonious effect. Think about what suits your subject better.
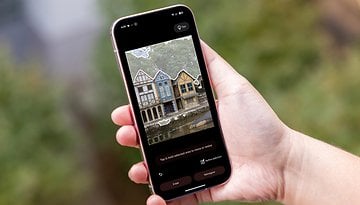
In the vast majority of camera apps, the grids for the rule of thirds and the golden ratio can be superimposed on the viewfinder image. You can find the corresponding option in the app settings.
Of course, these rules are not set in stone: highly symmetrical photos, for example with reflections, can also develop a special charm.
Tip 2: Foreground and background
"Foreground makes a picture healthy" is a simple rule of photography. Place your subject in a context that frames it - or ideally even complements it. For example, tell the viewer an additional detail. Did you laze around in the grass while taking the photo, or did you spend hours climbing over rocks to take this shot? Then hold a few blades of grass in front of the lens, or add a few sharp-edged stones in the foreground.
Tip 3: Lines, depth and perspective
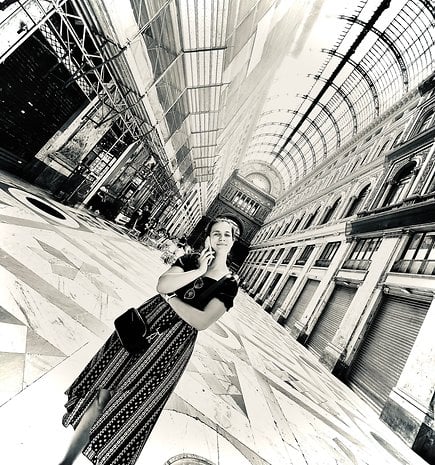
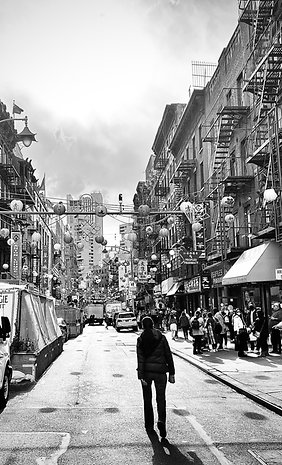
In addition to playing with the foreground and background, you can also use lines to create depth in your photo. Look for lines that lead from the foreground into the depth and let them run through your photo. This automatically adds a certain tension and dynamism to the images.
Tip 4: Light and shadow
There is probably no other element in photography as central as light—it is hardly possible to boil the whole subject down to three paragraphs. But leaving it out is not an option, so we'll break the topic of light down to two characteristics: Direction and quality.
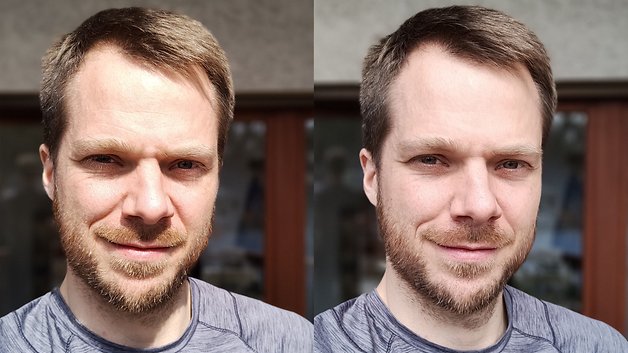
The quality of light is described as hard or soft and depends on the size of the light source. The sun is a tiny light source (relatively speaking, of course) and provides very hard light and hard shadows. Shapes are thus brought out very clearly, which is usually not very flattering in portraits.
However, sunlight can also become soft, namely through reflection. For example, if a person is standing in the shade and is passively illuminated by the sun via a white house wall, the shadows are very soft. The same applies in the evening and morning during the so-called golden hour before sunset or after sunrise. Here the sunlight travels a much longer distance through the atmosphere, is refracted more strongly and is therefore very soft.
The direction of the light also has a major influence on the image effect: if the light comes directly from the direction of the camera, there is little contrast in the image. Lateral light, on the other hand, as in the two examples above, creates a more vivid, high-contrast effect.
Photo tips especially for smartphones
Tip 5: Wide-angle/telephoto zoom: use all lenses
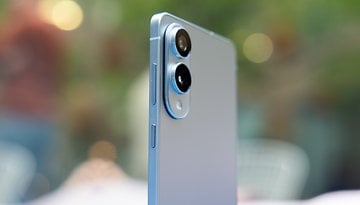
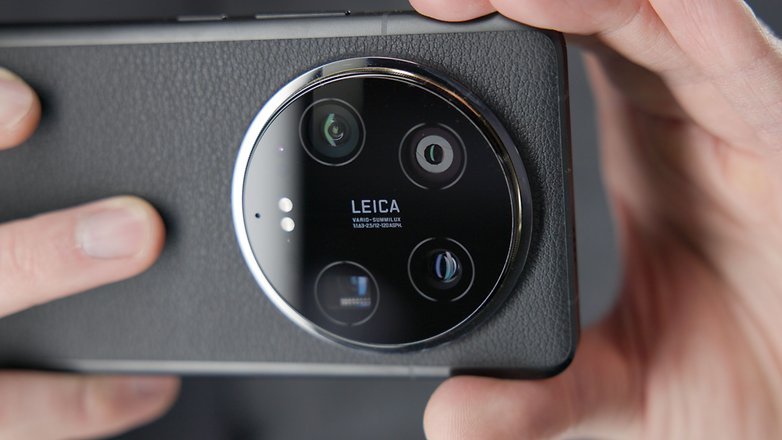
Modern smartphones have a whole battery of lenses on board, from ultra-wide-angle to telephoto zoom - and you should make the most of them. Get to know the different settings and take a close look at whether the image quality still meets your expectations at the different zoom levels. If the digital zoom kicks in at some point when enlarging, the pictures usually no longer look as good.
In addition to the obvious uses of wide-angle and telephoto zooms, we would like to give you another tip: Photograph portraits with zoom. This makes the person in the picture look "less fishy" than in the wide angle, and prevents an oversized nose. In addition, the high focal length compresses the background in comparison to your model and makes it appear calmer.
- Also interesting: These are the best camera smartphones 2024 in the test at nextpit
Tip 6: Get to know your camera app
In addition to the hardware, the camera app is also worth a closer look. There are often countless interesting modes hidden here, for example for photographing fireworks, soft waterfalls in daylight or sophisticated effect filters. The quality of these filters has improved considerably in the last year or two - it's worth experimenting.
There are typically also helpful settings for operating the camera app. In most cases, you can use the volume buttons as a shutter release - as well as the buttons on your headset if you need a remote shutter release. Many smartphones also offer a quick shot function by double-tapping the volume button: the phone then starts the camera app directly from standby and immediately captures a photo.
Tip 7: Don't take selfies with the selfie camera…
… but with the volume buttons and the ultra-wide-angle camera. Because even in 2024, the selfie camera is almost always the worst camera on your smartphone - and it doesn't have a particularly wide angle either. So it's better to take photos with the ultra-wide-angle camera on the back of your phone, even if you can't see yourself. To avoid having to grope blindly for the shutter button in the camera app, simply take a photo using the volume button on your phone. On some smartphones, this works by default, on other devices you first have to activate the feature in the app settings.
Tips for finding motifs
Tip 8: Where, and above all: When?
For particularly spectacular photos, a little planning pays off. It makes a difference when you visit a certain place. As mentioned above, the most beautiful light is at the golden hour after sunrise or before sunset. And of course, it's not just your Instagram feed that benefits when you visit a place in its most beautiful light. A little luck and patience often help you to catch the right moment.
If you are traveling by plane, take a look at the flight route beforehand, for example on Flightradar24. Then you can secure a window seat with a view of particularly spectacular landscapes or even a beautiful sunset or sunrise.
Tip 9: Clean the lens, really
Finally, the most important thing: Regardless of what and where you take photos, get into the habit of cleaning the lens(es) of your smartphone before every photo. A fingerprint on the glass makes photos appear dull and muddy, light sources cast large halos on the picture. By the way, you don't need any special cleaning materials - your top or T-shirt will suffice.
Do you have holiday photos of which you are particularly proud? Then share them with us in our forum.
